Last updated on December 2nd, 2021 at 02:51 pm
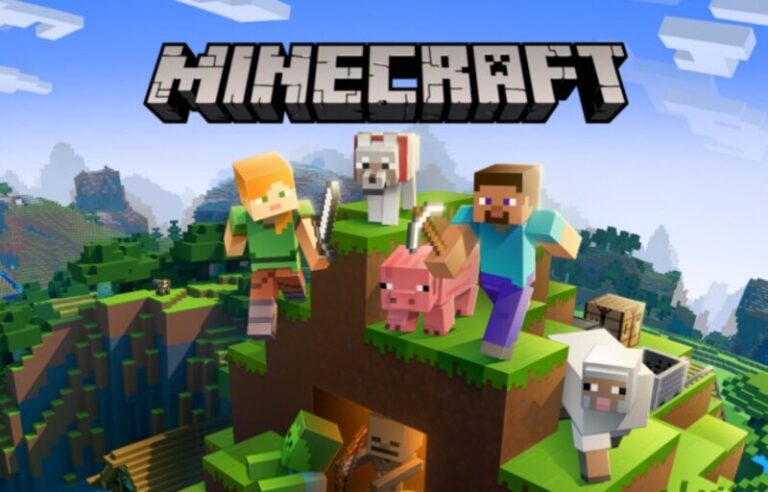
Minecraft is a computerized open-world video game where users may explore, mine, build, construct and enchant things. The game is generally described as a “sandbox game” because players may create their own worlds and experiences where the possibilities are truly limitless.
Unlike traditional video games, Minecraft allows you to be in control of the game, and it even contains tools allowing users to serve as moderators and add their own coding/modding directly into the game!
Minecraft is a sandbox game, in which your avatar wanders around in a world, collecting materials and using objects.

Individuals may easily be confused as to what a sandbox game is. It refers to games that include a playable aspect that enables the player to carry out activities with a great degree of creative freedom.
This indicates that it is a virtualization method in which users may create their own worlds and experiences using building blocks, items available on the web, and their own imagination.
You may explore, interact with, and even alter a constantly generated world of one cubic meter blocks in Minecraft. The environment also includes plants, animals, and relics.
The game is available on a wide range of systems. To play, you could use your pc, phone, iPad, Raspberry Pi, Xbox, Nintendo Wii, or PlayStation.
It is becoming more popular, especially among primary-school-aged children. Minecraft fans will enjoy these 15 amazing games like Minecraft for Android and iOS.
Article Contents
How to make a Mods Folder for Minecraft
In this segment, we will be talking about how to make a mods folder for Minecraft. The mods folder can be located on the disc wherein the user installed Minecraft.
The Mods folder would be in a folder you can access via selecting “users,” your Windows name, “App Data,” “Roaming,” and finally “.minecraft.”
If there’s no folder called “modifications” in there, you may create one and simply put your downloaded mods there.
How to Install Mods in Minecraft
-
Step 1: Go over to the official Forge website
Go over to the official Forge website and download the appropriate version of the program.
You may also install the newest version of Forge, however, it might have some unsolved issues that will affect your ability to correctly run certain modifications.
-
Step 2: Download the Mod
Acquire the modifications you wish to install from a trustworthy source. CurseForge is a popular site with hundreds of excellent modifications to pick from.
However, not all modifications are compatible with all versions of Minecraft, or even with Forge.
Make careful to investigate the particular mod you’re interested in to find out whether it’s compatible with your software.
-
Step 3: Create the Mod Folder for Windows
Create the “mods” folder in the .minecraft directory. The target location of the folder should be as mentioned below:
C:Users[yourname]
.minecraft
If the AppData folder isn’t visible in File Explorer, click View at the app’s top and then select Hidden Items.
If this is your first mod, there is no “mods” subdirectory inside the .minecraft folder. With the .minecraft folder open, right-click inside File Explorer and select New followed by Folder on the pop-up menu. Name that folder “mods.”
-
Step 3: Create the Mod folder for Mac
Create the “mods” folder in the minecraft directory. The target location of the folder should be as mentioned below:
~/Library/Application Support/minecraft
You may easily access this folder using the Command + Shift + G keyboard shortcut. Alternatively, open Finder.
Click Go on the menu bar and enter the Library folder by using the Option key. Open Application Support followed by Minecraft after that.
Once there, right-click inside that folder, choose New Folder on the pop-up menu, and name it “mods.”
-
Step 4: Move the downloaded mod into the mods folder.
-
Step 5: Launch Minecraft
But first, make sure your Forge account is active. If not, your modifications won’t load correctly.
Where is the Mod folder in Minecraft
The mods folder would be on the disc where you installed Minecraft, in a folder that you may access by selecting “users,” your Windows name, “App Data,” “Roaming,” and finally “.minecraft.”
If there isn’t a folder called “modifications” in there, create one and just put your downloaded mods into it.
Press Win+R Type %appdata% Go to .minecraft folder If you can’t find the mods folder there then just create a new one in that location.
Using Mods in Minecraft
A wide range of add-ons and modifications are available for players to utilize, depending on the version of Minecraft they are using.
Players of the Bedrock Edition will primarily make use of in-game add-ons that they may purchase with real-world money on the market.
Those who play the Java Edition game will often make use of third-party modifications that they may pick up for free.
Users of the Bedrock version on a console or a PC may access third-party add-ons directly from the market.
Users of Minecraft Java Edition will need Java to run the game. Next, get the appropriate version of Minecraft Forge for your server’s operating system.
To play with the changes you’ve installed, just choose “forge” from the list of possible builds in the Minecraft Java Edition client.
That is all there is about Mods in Minecraft. So, we hope this article was helpful for you in finding how to make a mods folder for Minecraft and where to find it.
Follow the steps mentioned in the segment above to accurately install mods in Minecraft by creating the Mods Folder.
Do that, and you should have a seamless Minecraft experience using your mods.
Follow us on Twitter & like our Facebook page for more post-updates.
Check out related Minecraft posts
- Top 14 Best Roblox Minecraft Games
- Top 15 Best Games like Minecraft for Android/ iOS
- Fix: Minecraft store not working 2021

Abhigyan identifies himself as a tech geek, gaming cognoscenti, and also a connoisseur of music. Unidentified and mysterious phenomena never fail to gather his undivided attention. When not reading about bizarre and perplexing entities across the Universe, he can often be found cheering for his favorite teams in Football.