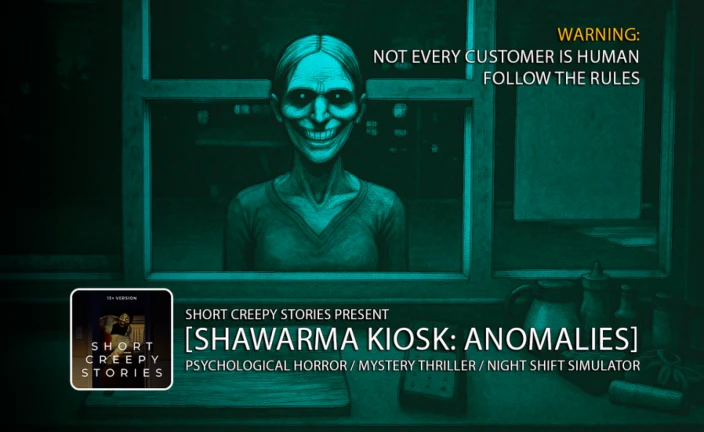
Not all corruptions in Scary Shawarma Kiosk: The Anomaly are worth your hard earned coins or Robux.
Some corruptions drastically improve your survival rate and reduce stress during inspections, while others exist mostly for trolling or adding unnecessary difficulty.
This Corruption Tier List ranks every corruption from S Tier (best) to C Tier (worst) based on usefulness, consistency, cost efficiency, and overall impact on long-term gameplay.
If you want to survive longer shifts and avoid failing inspections, this guide will help you spend your currency wisely.
Scary Shawarma Kiosk Corruption Tier Overview
| Tier | Corruptions |
|---|---|
| S Tier | Show Anomaly, Internal Control |
| A Tier | Corruption Deal |
| B Tier | Summon Anomaly |
| C Tier | Dance For Friends, Scare a Friend |
S Tier – Best Corruptions
These corruptions provide consistent value in every shift, regardless of skill level. If you can afford them, these should always be your top priority.
Show Anomaly
| Cost (Coins) | Cost (Robux) | Effect |
|---|---|---|
| 1,000 | 19 | Instantly reveals the current anomalous customer |
Why it is S Tier
Show Anomaly completely removes guesswork by telling you exactly which customer is dangerous. It is the cheapest corruption in the shop and remains useful from early game to late game.
This corruption is especially valuable for new players learning anomaly patterns, but even experienced players benefit from the speed and safety it provides. There is no downside, no timing requirement, and no skill check involved.
Internal Control
| Cost (Coins) | Cost (Robux) | Effect |
|---|---|---|
| 5,000 | 29 | Clears all mistakes made before the inspection |
Why it is S Tier
Internal Control is the strongest corruption in the game. It effectively acts as a full reset button when an inspection is about to fail. If used correctly, it can save an entire run that would otherwise be lost.
Although expensive, its ability to erase all errors makes it invaluable for long shifts and high difficulty play. It rewards good timing and game awareness, which is why it scales well with experience.
A Tier – Very Good Corruption
These corruptions are strong but more situational than S Tier options.
Corruption Deal
| Cost (Coins) | Cost (Robux) | Effect |
|---|---|---|
| 3,500 | 25 | Automatically passes inspections regardless of errors |
Why it is A Tier
Corruption Deal guarantees inspection success, making it extremely useful if inspections are your biggest weakness. Unlike Internal Control, it does not require precise timing.
However, it only affects inspections and provides no help during regular customer interactions. This limited scope keeps it just below S Tier.
B Tier – Situational Corruption
These corruptions are niche and mainly useful for players seeking extra challenge.
Summon Anomaly
| Cost (Coins) | Cost (Robux) | Effect |
|---|---|---|
| 3,500 | 29 | Forces special events like anomalies or fog to occur |
Why it is B Tier
Summon Anomaly actively makes the game harder instead of easier. While it can be useful for practice or challenge runs, it reduces survival chances during normal gameplay.
This corruption is best suited for experienced players who want to test their detection skills or create high pressure situations on purpose.
C Tier – Least Useful Corruptions
These corruptions provide little to no gameplay advantage and should generally be avoided.
Dance For Friends
| Cost (Coins) | Cost (Robux) | Effect |
|---|---|---|
| 2,000 | 29 | Triggers a dancing screamer for friends |
Why it is C Tier
Dance For Friends exists purely for fun. It does not improve survival, detection, or inspection success. Solo players gain absolutely nothing from it.
Scare a Friend
| Cost (Coins) | Cost (Robux) | Effect |
|---|---|---|
| 2,000 | 19 | Triggers a screamer for a friend |
Why it is C Tier
This corruption is identical in usefulness to Dance For Friends but even less impactful. It serves no functional purpose and should be the lowest priority purchase.
Best Corruption Purchase Order
If you are unsure where to start, follow this order:
- Show Anomaly
- Internal Control
- Corruption Deal
- Summon Anomaly
- Dance For Friends
- Scare a Friend
SEE ALSO:
- (6 Ways) Detect Imposters in Scary Shawarma Kiosk The Anomaly
- All Anomalies in Scary Shawarma Kiosk (Complete Guide)
Final Verdict
If your goal is survival, consistency, and passing inspections, S Tier corruptions are mandatory. Show Anomaly alone can dramatically reduce your error rate, while Internal Control provides unmatched recovery potential.
A Tier and B Tier corruptions are optional and depend on your playstyle, while C Tier corruptions are mostly cosmetic or social features with no gameplay value.
Spend wisely and your night shifts will become far more manageable.

Abhigyan identifies himself as a tech geek, gaming cognoscenti, and also a connoisseur of music. Unidentified and mysterious phenomena never fail to gather his undivided attention. When not reading about bizarre and perplexing entities across the Universe, he can often be found cheering for his favorite teams in Football.


