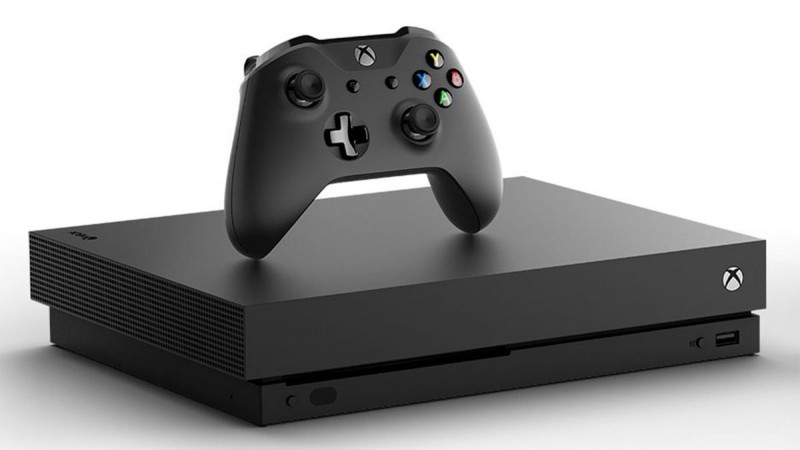
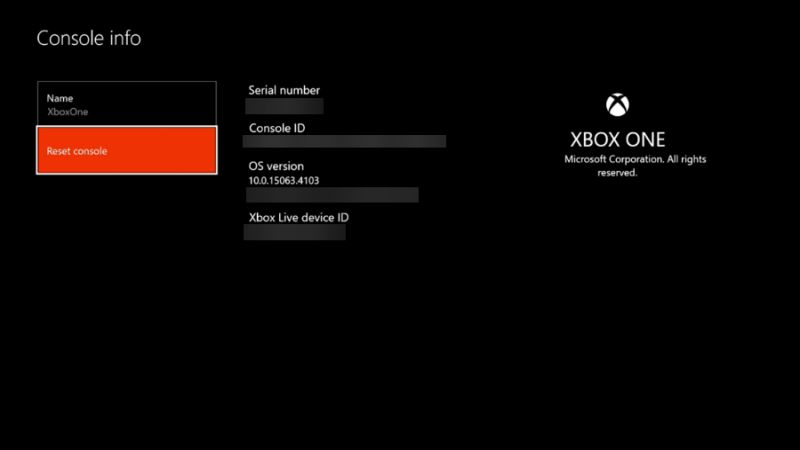
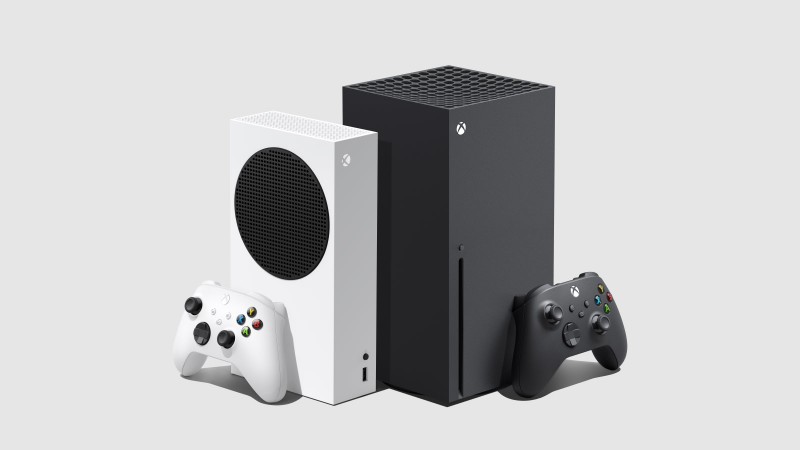
The Xbox has a position in the gaming community since it has changed the way that games were originally played.
Several Xbox owners have recently seen a Black Screen.
Xbox One seems to be the most impacted of all models, despite the fact that this problem has been reported to affect almost all models, including X and S.
Xbox gamers refer to this screen as the “Black screen of death” because of its appearance.
Why does black screen appear after green screen in Xbox One?
Short Answer – Black screen appears after green screen in Xbox mainly because of bugs, incorrect hardware settings or defective updates. Some users also encounter this problem while trying to load their dashboard into the system.
The issue known as the “black screen” on the Xbox one is considered to be among the most difficult problems that Xbox customers experience.
This problem might have been caused by a number of different things, including bugs, inconsistencies in the hardware settings, or corrupted updates, but there is no one reason for it.

1. Bugs:
Since games can have a variety of bugs that are fixed during the course of use, a bug is the most typical cause of a “black screen of death” on your computer’s operating system.
Because the bug may have carried out some activity that may have had ramifications for the system, the Xbox went into black screen mode to avoid this from happening.
2. Faulty Hardware Configuration:
Users sometimes purchase hardware without even considering whether or not it is compatible with their devices.
As a result, an Xbox black screen of death issue might occur if the hardware settings do not match the specifications of the Xbox.
3. Loading the Dashboard:
A number of consumers have stated that they are confronted with Xbox screen black troubles when they attempt to load their dashboard into the system.
As a result, you are required to get in touch with the professionals or the technicians in these kinds of situations.
4. Defective Upgrades:
Several customers have complained that the updates of their Xbox have resulted in the “black screen of death” on their Xbox One.
This is due to various problems with the updates and system files.
Fix: Xbox One black screen after green screen
There are a variety of remedies available to correct this problem; nevertheless, depending on the context of your use, the following solutions may be applicable:
Method 1: Easy Fixes
It’s possible that you’ll have problems when playing Xbox, but there are a number of easy fixes you may try before you resort to more extensive methods:
-
If your Xbox One screen keeps on fading to the black screen, then you can press the ‘Right Trigger + Y’ buttons on your controller.
-
Make sure that your Xbox system is in offline mode and unplugged from Xbox Live.
-
Disconnect all external hardware connected to the operating system.
-
Remove any discs trapped in the Xbox by turning it off and pressing the Eject key.
Method 2: Power-cycling & Resetting the Console
-
Step 1: Check if you’ve inserted a disc in your Xbox
If you have inserted a disc in your Xbox One console, then eject that disk.
-
Step 2: Press and hold the ‘Xbox’ (Power) button on your console.
On your console, press and hold the “Xbox” (Power) button until the system’s bright Xbox logo goes out for around 10 seconds.
-
Step 3: Unplug any cable connected to your Xbox One console.
Unplug your Xbox One’s power cord, HDMI cable, and any other cables you have attached to the console from the rear.
Wait five minutes after unplugging the power cable from the main power source to ensure it is entirely dead.
-
Step 4: Plug in all the other cables after 5 minutes.
After waiting for 5 minutes, reattach the power cable to the electrical board and reconnect the other end of the cord into the Xbox One’s power supply at the rear of the console.
Additionally, ensure that all of the other wires are plugged in, and then activate the power supply.
-
Step 5: Press and hold the BIND button and the EJECT button.
Now, press and hold the ‘Bind’ button on the Xbox for about 5-6 seconds, followed by pressing and holding the ‘Eject’ button, and then pushing the ‘Power’ button one time while simultaneously holding the Bind and Eject buttons.
-
Step 6: Continue holding the BIND and EJECT buttons for 10-15 seconds.
A beep will sound, and you’ll see that the power button is lit. Keep holding down the “Bind” and “Eject” keys for a few more seconds (approximately 10 seconds) until you hear a second beep and something shows on the screen of your monitor or TV.
-
Step 7: Now, you’ll enter the ‘Troubleshoot’ window.
Upon entering the ‘Troubleshoot’ window you will use the D-pad of your controller to navigate to the ‘Reset this Xbox’ option.
-
Step 8: Reset the Xbox.
After selecting the necessary menu item, you will need to hit the “A” button in order to access the “Reset this Xbox” option.

Method 3: Resetting the Display Settings
-
Step 1: Check if you’ve inserted a disc in your Xbox One console.
If you have, then eject that disk, but if you haven’t inserted any disc, then skip this step and move to the next one.
-
Step 2: Press and hold the ‘Xbox’ (Power) button on your console.
On your console, press and hold the “Xbox” (Power) button until the system’s bright Xbox logo goes out for around 10 seconds.
-
Step 3: Press and hold the ‘Power’ button and ‘Bind’ button on your console.
To activate your console, turn it on by simultaneously pressing and holding the ‘Power’ button as well as the ‘Bind’ button until you hear a beep.
When you hear the first beep, release the ‘Power’ button; the power light will flash; however, you must continue to hold down the ‘Bind’ button until you either hear the second beep or see the console start up in low-resolution mode.
-
Step 4: Check if you have entered the ‘low-resolution mode.’
In order to go into ‘low-resolution mode’ (640 x 480) on your TV or monitor, you must see the bars at the top and bottom of the screen. In addition, you’ll notice a fuzzy appearance on your screen.
-
Step 5: Open the guide.
Press the ‘Xbox’ (Power) button on your controller to open the guide.
-
Step 6: Go to the ‘System’ tab and open the ‘Settings’ option.
-
Step 7: Select the ‘General’ tab, open the ‘TV & display options.’
-
Step 8: Choose the proper resolution from the dropdown menu.
Method 4: Checking the Connectivity of Xbox One Controller
On occasion, the Xbox One controller will detach itself from the system without the user’s intervention (after staying unused for some time). As a result, you should examine the connection of your controller as soon as possible.
Now, on your controller, find the button labelled “Xbox (Power),” and push it. The next step is to determine whether or not the “No Signal” error is still occurring.
Method 5: Power Cycle your TV and Xbox One Console
In order to get your monitor/TV in sync with your console, you can try the ‘Power Cycle’ method.
-
Step 1: Turn off your TV and Xbox One console.
-
Step 2: Unplug the power source of your Xbox One console and TV for 30 seconds.
-
Step 3: Turn on your TV and console.
After thirty seconds, you should switch on both your television and your console. The next step is to determine whether or not the ‘No Signal’ error is still being shown.
Method 6: Check Whether you’re Using the Correct HDMI Ports or Not
The ‘No Signal’ problem may also be caused by accidentally using a different port than intended.
Therefore, check that the HDMI cable is put into the appropriate ports on both the television and the Xbox One console before continuing.
In most cases, Xbox One consoles are equipped with two HDMI ports, labelled HDMI-IN and HDMI-OUT.
In contrast, the number of HDMI ports included on TVs and displays may vary widely depending on the model.
Method 7: Check Whether you’re Using the Correct HDMI Cable or Not
The ‘No Signal’ problem may also be caused by using an HDMI cable that is damaged in some way.
Therefore, if you have a second HDMI cable lying around, you should experiment with that one and see whether the ‘No Signal’ error is still there on the screen or not.
Method 8: Clean the HDMI Ports
Dust in HDMI ports prevent TVs and monitors from receiving HDMI signals.
Use compressed air to clean the HDMI ports on your computer. Then, check to see whether the ‘No Signal’ issue persists.
Method 9: Use a Second TV/Monitor
If all the above steps didn’t resolve your issue, then use a separate TV/monitor.
So, after using the second TV/monitor, if you’re not seeing the ‘No Signal’ error on your screen, then the problem is in your first TV/monitor.
Method 10: Request repair
You need to follow the steps listed below to request a repair for your device:
-
Step 1: Navigate to Xbox’s official website.
Find the Help and Support column from the website and click on “Sign In”.
-
Step 2: Log in using your Microsoft Account.
Select another device to register if you have already registered with yours.
-
Step 3: Select Display issue under various errors.
A little textbox will emerge after selecting “Display Issue” from the list of different problems.
-
Step 4: mention details and the issue you’re facing.
In this part, you may describe your details and issues and then, submit your complaint.
-
Step 5: Your complaint will be registered and the firm will help you.
Follow us on Twitter & like our Facebook page for more post-updates

Abhigyan identifies himself as a tech geek, gaming cognoscenti, and also a connoisseur of music. Unidentified and mysterious phenomena never fail to gather his undivided attention. When not reading about bizarre and perplexing entities across the Universe, he can often be found cheering for his favorite teams in Football.


