You can create a variety of things in Minecraft. There are castles, houses, farms, and so much more. However, one of the most fascinating ways to play Minecraft is at sea.
What better way to start your journey into the world of nautical construction than by designing a vessel that will cut through the water? It’s time to learn how to build a ship and earn your sea legs.
One of the most challenging things to construct in Minecraft is a ship. It’s tough to replicate their circular curves with massive blocks without seeming strange.
Players of the well-known sandbox game may celebrate! You may entertain yourself by checking out this list of 15 amazing games like Minecraft that are popular among elementary school youngsters.
We are not shipbuilders, and we make no claims that this tutorial is the best method to build a ship. However, it is hoped that it would assist individuals, particularly beginners, in designing and building their own ships.
Just to clarify, the only difference between a ship and a boat is that the latter is smaller. A boat might be said to fit into a ship. The distinction isn’t significant, as most people use both phrases to refer to the same object.
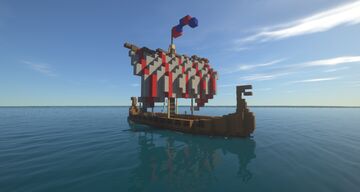
Here is our guide on How to make Viking ship in Minecraft. So, let’s get tsarted.
How to make Viking ship in Minecraft

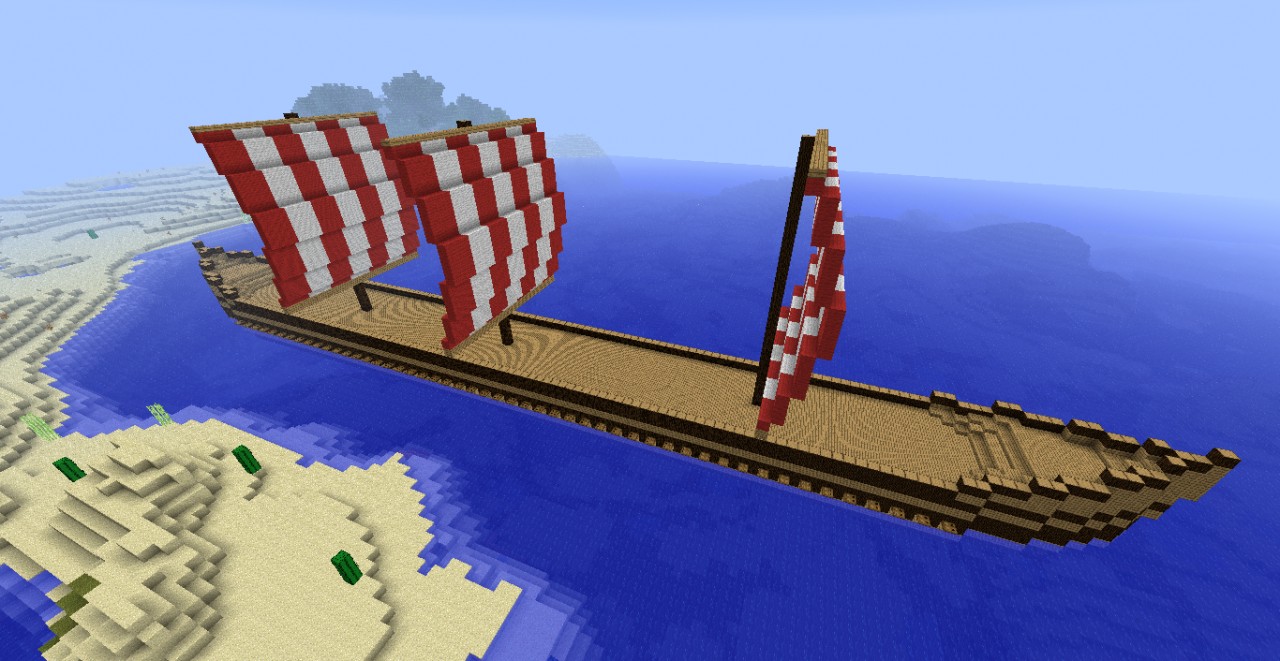
Viking ships are far easier to construct than bigger, conventional ships, such as the one in our last tutorial. A Viking ship’s hull is much smaller and lower, making it much easier to make it appear beautiful. However, in Minecraft, the embellishment, curving end pieces, might be difficult to make.
If you want to create a viking ship for your port, I’ve provided directions in the last section of this tutorial on how to make those sails, which are pretty simple.
Bow and Stern (Front and Back)
As previously said, my viking ship’s stern and bow are identical, which makes designing a massive Viking ship a lot easier. I start in the middle of the ship and work my way up, as shown in the photograph below.
We’ll start building the curved end pieces with the two blocks at the top. Those two blocks also indicate where we will construct the ship’s edges; everything below will be either the deck or storage space.
The rest of the stern and bow are built similarly to our standard ship, but we make it pointier by increasing the width of the ship at larger intervals.
There isn’t really a right or wrong way to build this part; it’s mostly a matter of personal preference and some experience, but if you’re inexperienced or just can’t seem to get it to look right, feel free to download our ship and either use it as is or try to copy and adjust it to your own preferences; practice makes perfect.
The decorating component is normally built after the stern or bow, although we go into greater depth on how to construct this portion later down the page.
The Body
The hull is simple to construct, especially if the bow and/or stern are completed initially; you simply stretch it to the necessary length. The hull of a Viking ship is usually relatively flat and broad, but we needed space below deck for stores or even bed accommodations.
As a result, the ship’s bottom had to be at least two blocks below deck, implying that only one design would suffice.
We normally put the bottom two layers underwater because we like the added height. But even the bottom three layers underwater will look nice, if not better.
Those seeking for a strategy to create locations for Vikings to place their paddles can consider adding steps at the perimeter. Place one stair every two blocks, with the holes pointing sideways, and then a row of two steps on deck for the Vikings to sit on while rowing their ship.
Sail and Decorations
Although the decorating component appears difficult to construct, it is actually pretty simple. With only two slabs at the top, almost the entire work is composed of steps and wooden planks. If you’re having trouble understanding where each brick goes, click on the picture below to be sent to an image that clearly shows each block.
The Viking ship sails are constructed in the same manner as the ship in various other guides. We went with the classic red and white color scheme, which usually works well.
We utilize folded-up sails and ice for the parked Viking ships to contribute to the frigid mood of the surroundings and make it look like they’ve been docked for a long. The sails themselves should be simple to make.
The ice is first constructed as a single hanging row of 3-5 ice blocks, after which I add blocks to the sides to improve the appearance. It’s really simply a question of trying different things.
The Creeper of the Seas, there she is! A dangerous ship that will take you directly to Davy Jeb’s Locker. You might have a ship that is equally as menacing or one that is bright and contemporary.
This structure may take on a variety of forms just by varying the bricks you use and is likely to lead you along the path of aquatic architecture in giant strides across the blocky waves of Minecraft.
To make sure you get the guide right, you can check out a YouTube guide here. To watch the video, click here.
That’s all for today’s article on How to make Viking ship in Minecraft. Do check out all the sections and know you should know which one is the best for you. Till then, stay safe and follow us for more upcoming gaming coverage.
Follow us on Twitter & like our Facebook page for more post-updates

An experienced gaming content writer who emphasizes on offering the most recent information and how-to tutorials for the trending titles. Being a Hardcore gamer himself, he likes to try an array of games and likes to spend his time exploring them. He likes to unwind by listening to R&B music when he’s not writing about gaming stuff.


