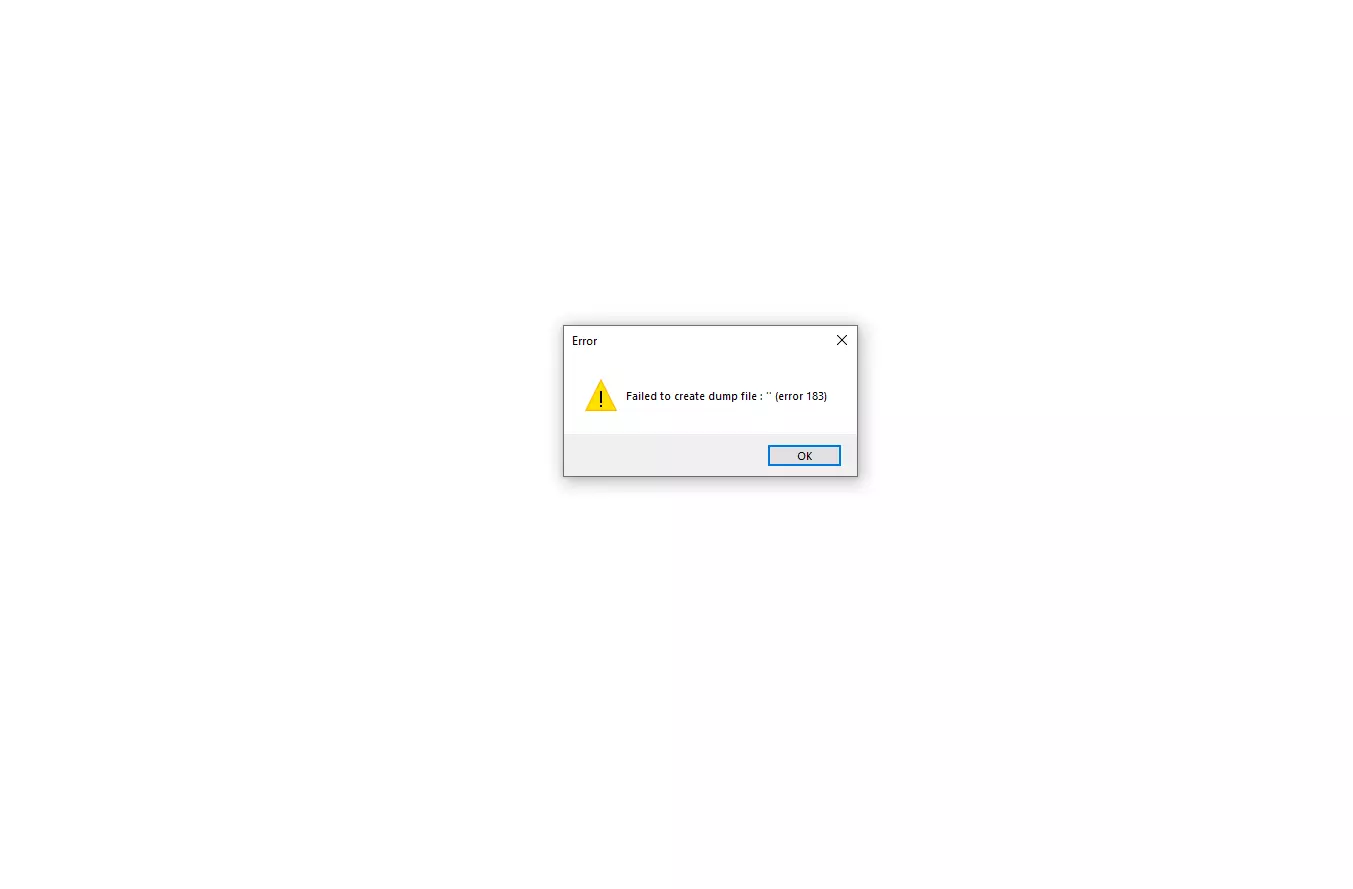

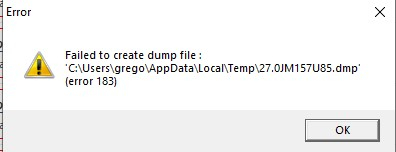
The Failed to generate dump file error 183 is one of the frustrating problems that can arise when using a computer or piece of software. Users may be perplexed and in quest of answers after seeing this mysterious error notice.
When trying to create a dump file in Windows operating systems, Error 183 frequently pops up as a result of a program crash or another important system event. It is critical to resolve this mistake as soon as possible since a dump file is necessary for identifying and resolving these problems.
In this post, we investigate the root causes of the Failed to generate dump file problem 183, look at possible explanations for its occurrence, and offer workable fixes. Users can reestablish stability and flawless functionality in their computer experience by identifying the source of the issue and making the necessary corrections.
Here is our guide on Fix: Failed to create dump file error 183.
What causes Failed to create dump file error 183
Short Answer: Failed to create dump file error 183 can occur due to file permission issues, insufficient disk space, or problems with the Windows Error Reporting service.
We examine the main causes of the “Failed to create dump file error 183” on Windows in this post. Each reason is thoroughly examined, giving readers a thorough knowledge of the elements that might result in this puzzling mistake.
Understanding these reasons will enable users to seek the right remedies or expert assistance, maintaining the stability and efficient operation of their Windows computers.
1. Issues with File Permission
File permissions are one of the most frequent reasons for the “Failed to create dump file error 183”. Windows tries to produce a dump file when a programme crashes or experiences a significant problem in order to record details about the program’s state at the moment of the crash.
However, Windows won’t be able to create the required file, leading to error 183, if the user account or the system doesn’t have enough rights to write to the selected place for dump files.
Examining the permissions of the folder where dump files are anticipated to be produced may be part of the troubleshooting process in such circumstances. The problem could be resolved by making sure the user account has the proper write access to this folder.
You may also try running the crashed program or application as an administrator to see if that solves any permission-related issues.
2. Insufficient Disc Space
Inadequate empty space on the disc where the dump file is intended to be saved is another potential cause of the “Failed to create dump file error 183”. Dump files may be rather huge, especially for complicated programs, and Windows won’t be able to make them if the disc doesn’t have enough free space to hold them.
Users can check the amount of free disc space on the drive where the expected location of the dump file is stored to solve this problem. If the available space is dangerously low, the problem could be fixed by deleting unused files or relocating data to an external storage device.
3. Problems with Windows Error Reporting Service
When an application crashes or has problems, the Windows Error Reporting (WER) service is in charge of gathering and delivering error reports to Microsoft. The “Failed to create dump file error 183” may occasionally be brought on by issues with the WER service.
One possible step in the troubleshooting process is to check the Windows Error Reporting service’s status. Users can check to see if the service is active and that its startup type is “Automatic.”
The possibility of starting the service or setting it to run automatically might be investigated if it is not already running or is set to manual. A system restart may be required if the service is unable to start.
4. Third-Party Security or Antivirus Software
It’s occasionally possible for antivirus or security software from a third party to obstruct the process of producing dump files. The “Failed to create dump file error 183” may appear as a result of these security apps identifying the creation of the dump file as potentially hazardous behavior.
Users might attempt momentarily turning off their antivirus or security software if they think it could have something to do with the problem. By doing this, they may determine whether the problem still occurs. If it does, they can disable the security software, add an exception, or let the process that is creating the dump file continue in order to stop additional disruptions.
5. Malfunctioning System Files
Another potential root cause of several Windows issues, such as the “Failed to create dump file error 183,” is corrupted system files. Several system operations, including the generation of dump files, can be interfered with when crucial system files are corrupted or destroyed.
Users may think about using the System File Checker (SFC) tool to solve this problem. System file corruption is scanned for and attempted to be fixed by the SFC software. Open the Command Prompt as an administrator, and enter “sfc /scannow” before hitting Enter to run the SFC tool.
The application will then start searching the system for damaged files and making an effort to fix them. After the scan is done, the system might need to restart.
6. Incompatible drivers or software
The system may encounter software or driver conflicts that prevent the creation of dump files, resulting in error 183. It’s conceivable that the issue is being caused by recently installed software or upgrades.
Users can attempt to do a clean boot to find the offending program or driver. This prevents potential issues with third-party applications by starting the computer with just the necessary Microsoft services and drivers active.
To do a clean boot, open the System Configuration window, select the “Services” tab, check the box next to “Hide all Microsoft services,” click “Disable all” to deactivate non-Microsoft services, and then select the “Startup” tab to disable all startup components.
Users can determine whether the fault still exists after applying these changes and restarting the machine. If the issue does not appear after doing a clean boot, it means that a third-party starting item or service was to blame for the conflict. In order to pinpoint the precise piece of software or driver causing the issue, users can then activate the services and startup items one at a time.
Fix: Failed to create dump file error 183
This article explores a number of workable fixes for the “Failed to create dump file error 183.” Regardless of the root reason of the mistake, we examine realistic advice, step-by-step procedures, and techniques to fix it.
By following these recommendations, users may ensure the efficient development of dump files for successful system analysis while regaining stability and flawless operation in their computing experience.
Method 1: Verify File Permissions
Insufficient file permissions are one of the most frequent reasons for the “Failed to create dump file error 183”. Windows tries to produce a dump file when a program crashes or experiences a significant problem in order to record details about the program’s state at the moment of the crash.
Windows will encounter error 183 if it is unable to create the required file because either the user account or the system does not have adequate rights to write to the selected directory for dump files.
Follow these procedures to fix this problem: Place a right-click on the folder where the anticipated dump files will be produced and choose “Properties.” Find the “Security” tab in the Properties box. To change the permissions, click “Edit”.
Choose “Users” from the drop-down menu, then tick the box next to “Full Control.” To save the changes, click “Apply” and then “OK”. Try to reproduce the error after changing the file permissions to see if the problem has been fixed.
Method 2: Clear Disc Space
Insufficient empty space on the disc where the dump file is intended to be saved is another potential cause of the “Failed to create dump file error 183”. Dump files may be rather huge, especially for complicated programs, and Windows won’t be able to make them if the disc doesn’t have enough free space to hold them.
Observe these measures to free up disc space: Right-click the disc where the anticipated dump file is saved in File Explorer by opening it. Choosing “Properties.” Go to the General tab and choose “Disc Cleanup.”
Windows will determine how much disc space may be made available. Select the things you wish to get rid of—like temporary files and system cache—and then click “OK.” Try to reproduce the problem after clearing up disc space to see whether the error has been fixed.
Method 3: Check Windows Error Reporting Service
When an application crashes or has problems, the Windows Error Reporting (WER) service is in charge of gathering and delivering error reports to Microsoft. The “Failed to create dump file error 183” can occasionally be brought on by issues with the WER service.
The procedures below should be followed to verify the Windows Error Reporting service’s status: To launch the Run dialogue, press Windows + R. Press Enter after typing “services.msc”. Find “Windows Error Reporting Service” under “Services” in the list. Ascertain that the service is up and running with the starting type set to “Automatic.”
Right-click on the service and choose “Start” to start it if it is not already running or is set to manual. Try resetting the machine if it won’t start, then see if the issue still exists.
Method 4: Temporarily disable antivirus or security software
It’s occasionally possible for antivirus or security software from a third party to obstruct the process of producing dump files. The creation of the dump file could be identified by these security programs as a potentially hazardous action, resulting in the “Failed to create dump file error 183.”
Try momentarily deactivating the antivirus or security software to see whether the issue is brought on by third-party security software. Look in the system tray (often in the lower-right corner of the screen) for the antivirus or security software icon.
Look for a menu item to turn off or suspend the protection by performing a right-click on the icon. To temporarily disable the program, select the relevant option.
Try to repeat the problem once the security software has been disabled to determine if the fault has been fixed. Consider adding an exception or enabling the process that is producing the dump file if the error is no longer present to stop additional disruptions.
Method 5: Launch the SFC tool (System File Checker)
Another potential root cause of several Windows issues, such as the “Failed to create dump file error 183,” is corrupted system files. Several system operations, including the generation of dump files, can be interfered with when crucial system files are corrupted or destroyed.
You may take care of this problem by using the System File Checker (SFC) tool, which scans and tries to fix damaged system files: As an administrator, launch the Command Prompt. In order to do this, right-click the Start button and choose “Command Prompt (Admin).”
Type “sfc /scannow” into the Command Prompt window and hit Enter. The application will begin searching the system for damaged files and making an effort to fix them. This procedure could require some time. Restart your computer when the scan is finished to see whether the problem still exists.
Method 6: Look at incompatible drivers or software
The system may encounter software or driver conflicts that prevent the creation of dump files, resulting in error 183. It’s conceivable that the issue is being caused by recently installed software or upgrades.
You can conduct a clean boot to find the issue driver or software: To launch the Run dialogue, press Windows + R. Press Enter after typing “msconfig”. Navigate to the “Services” tab in the System Configuration window. Turn on the checkbox next to “Hide all Microsoft services.”
To stop all non-Microsoft services, click “Disable all”. Next, select the “Startup” option and then choose “Open Task Manager.” In the Task Manager, turn off all startup components. Click “OK” on the System Configuration box after quitting Task Manager.
Method 7: Restart your computer
After a clean boot, make an effort to duplicate the problem. If the issue does not appear after doing a clean boot, it means that a third-party starting item or service was to blame for the conflict. To pinpoint the precise piece of software or driver causing the issue, activate the startup items and services one at a time.
Follow us on Twitter & like our Facebook page for more post-updates.

An experienced gaming content writer who emphasizes on offering the most recent information and how-to tutorials for the trending titles. Being a Hardcore gamer himself, he likes to try an array of games and likes to spend his time exploring them. He likes to unwind by listening to R&B music when he’s not writing about gaming stuff.