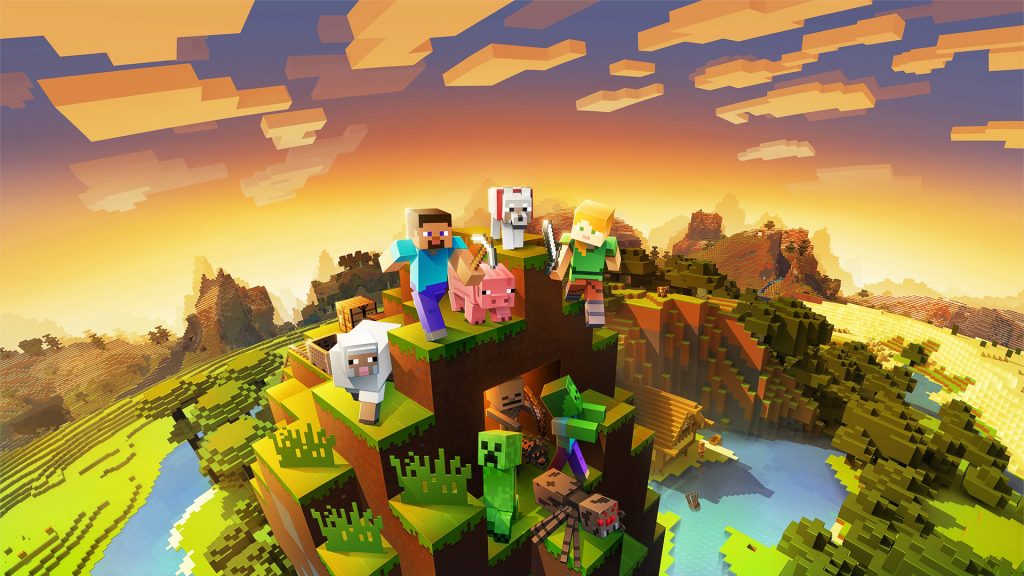
In Minecraft, players go forth into a voxel-based, randomly generated 3D world with a near-limitless landscape, where they may mine for resources, create their own tools and things, and construct various kinds of buildings, underground tunnel systems, and mechanical contraptions.
Players may either work together with or compete against other players in the same globe, depending on the game mode they choose. Both a survival mode and a creative mode are available.
Modifications, servers, skins, texture packs, and custom maps are just a few examples of user-created material that expand the game’s mechanics and potential.
In this article, we’ll investigate how to fix the Minecraft memory leak issue that’s been plaguing a lot of players recently.
Article Contents
What does a Minecraft memory leak mean?
Let’s first understand what “memory leak” means before diving into the specifics of Minecraft’s memory leak issues.
Memory leaks are a specific kind of resource leak that may occur when a computer software improperly handles memory allocations in such a manner that memory that is no longer required is not released.
This kind of memory management error can lead to resource leaks. The memory may also be lost in the event that an item is kept in memory but the code that is now being executed is unable to access it.
In Minecraft also over time, the game begins to demand more and more memory, which may result in portions of it failing to load, the game freezing up or crashing, and even the inability to run other applications due to the fact that Java will eat up all of your available memory. This phenomenon is referred to as a “memory leak.”
Fix: Minecraft memory leak
Method 1: Install the latest Java
-
Step 1: Download the latest version of Java.
-
Step 2: Open the launcher and go to the Launch Options tab.
-
Step 3: Enable Advanced Settings
-
Step 4: Tap on the profile you’d like to play in.
-
Step 5: Check the Java Executable and JVM Arguments settings boxes.
-
Step 6: Input “-Xmx1G” as the first line of code in the JVM Arguments
Make sure “-Xmx1G” is the first line of code in the JVM Arguments if your machine has 4GB of RAM. There’s no hard and fast rule about how many it should have, so long as you’re okay with it taking up extra room.
-
Step 7: Click the Browse button from Java Executable option.
-
Step 8: Find Java.exe and then choose that version as your executable
-
Step 9: Click on Save when you’re back at the launcher.
-
Step 10: Check the profile you modified to see if it’s working.
Method 2: Edit your Profile
-
Step 1: Launch Minecraft on your PC.
-
Step 2: Click on the Edit Profile option.
-
Step 3: Find the section titled Java Settings
-
Step 4: Make sure that the JVM Arguments box is checked.
-
Step 5: Delete all current text within the JVM Arguments textbox.
-
Step 6: Enter the command -Xmx3G in the textbox.
-
Step 7: Click on the Save Profile option.
-
Step 8: Click on the Play button in the Minecraft launcher.
Method 3: Restart your PC
It would be best if you tried to restart your computer. When you initially turn on your computer, it is probably unable to properly load system resources that are related with your network. This is likely the cause of the problem you are experiencing with Minecraft.
After you have chosen the Restart option, your computer will begin the process of restarting.
It is recommended that you wait for the restart to finish running its course before launching Minecraft and attempting to operate a server in order to assess whether or not the memory leak is still there.
Method 4: Reinstall Minecraft
Reinstalling Minecraft is a typical solution for fixing its many issues. However, even if you delete the file that contains the Minecraft launcher (which you downloaded), the game will still be there.
Following these instructions should solve the problem for the vast majority of users.
Windows:
-
Step 1: Go to your computer’s Application Data folder: %AppData%
-
Step 2: When you see the .minecraft folder, double-click on it.
-
Step 3: Separate the data folder and paste it somewhere.
-
Step 4: Get back one directory (to where you can see .minecraft)
-
Step 5: Get rid of the Minecraft directory
Getting rid of the Minecraft directory may take some time.
-
Step 6: To reinstall Minecraft, run the Minecraft.exe file.
-
Step 7: After reaching the Minecraft title screen, exit the game.
The saved folder should be copied over to the new .minecraft directory. Any information presently stored in this directory may be securely overwritten.
MacOS:
-
Step 1: The first step is to launch a Finder window
-
Step 2: Select the Go Menu option, then select Go to Folder
-
Step 3: Enter /Library/Application Support/minecraft into the text box
-
Step 4: Hit the Go button
-
Step 5: Move the folder containing your saved files to your desktop
Move the folder containing your saved files to your desktop by dragging it there.
-
Step 6: Drop anything not related to Minecraft in the trash.
-
Step 7: Restore the saves folder
To restore your saves folder, just drag it into the main Minecraft folder.
-
Step 8: Exit the Finder window and start the Minecraft App
Exit the Finder window and start the Minecraft App as you usually would.
Follow us on Twitter & like our Facebook page for more post-updates.

Abhigyan identifies himself as a tech geek, gaming cognoscenti, and also a connoisseur of music. Unidentified and mysterious phenomena never fail to gather his undivided attention. When not reading about bizarre and perplexing entities across the Universe, he can often be found cheering for his favorite teams in Football.


