
Last updated on May 8th, 2025 at 01:20 pm
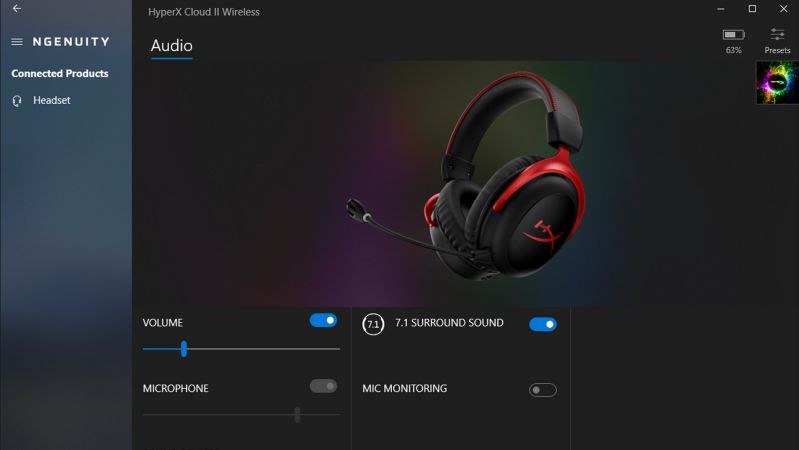
HyperX NGENUITY is a feature-loaded as well as a simplified program for modifying your relevant HyperX software.
Customize button bindings, create and save macros, and fine-tune lighting; HyperX NGENUITY provides you with complete control. Additionally, the program offers a library of presets, so you can just choose one to install and get straight into the action.
You should be able to use your Hyperx Ngenuity program to alter the lighting on all of your compatible Hyperx products.
If it does not allow for tweaking, storing profiles, or addressing other problems, what is the point of having a personalized product in the first place?
When it comes to Hyperx products, you want to get the most out of them and be able to switch between various lighting displays and patterns at any moment.
Regrettably, in certain circumstances, the Hyperx Ngenuity program does not operate as planned or at all, and therefore we’re going to discuss how to resolve this immediately.
This post will discuss how to resolve the HyperX ngenuity headset not detecting problem. Thus, let us begin.
Why is HyperX NGENUITY not detecting headset
The HyperX Ngenuity is not identifying the headset because there could be issues with the current version of the software, the device is not connected problem or the HyperX devices currently available is not supported yet.
If you have any RGB software running on your computer, there may be a problem with the HyperX NGENUITY not detecting the headset.
The problem might also be caused by a variety of other circumstances, such as using an old or incompatible version of the program in conjunction with your existing headset.
Whatever the case, a large number of consumers have grown frustrated as a result of the HyperX Ngenuity software failing to recognize their headsets.
Continue reading until the end of the article to learn more about how to resolve the problem at hand and make full use of your headset once more.
Fix: HyperX Ngenuity not detecting Headset
Method 1: Recheck Compatibility
If you upgraded your Hyperx Ngenuity software or it auto-updated, then possibly you’re operating hardware that is no longer controlled by the newest software. See if your device is covered by this list.
https://hyperx.com/pages/ngenuity
If your device isn’t mentioned, you’ll need to go back to an earlier version of the application and consider changing your equipment in the near term.
Please acquire the previous edition if you can’t find your product; if you are using this edition with the current software, then you may miss out on updated bug fixes or improvements.
From the checklist verify whether your headset is compatible or not. If not, then that is probably the issue as to why the software is not recognizing your headset.
Method 2: Examine the ports
Try using a different USB Port to attach your headset. For a change, we encourage consumers might consider trying the USB 3 port instead of the USB 2 port.
Even after changing ports, if the software does not identify your headset then there might be an issue with the soundcard of the device.
You might try placing another device in the ports to test whether the port is operating correctly or not.
Method 3: Uninstall Hyperx Ngenuity software
Rather than upgrading your Hyperx Ngenuity software to get it running, consumers might definitely execute a thorough uninstall and also get rid of any percent AppData percent that is being left behind.
By applying this procedure rather than updating, you can be confident that no old files or % AppData % are clashing with your fresh installation and that no past setup is generating troubles.
The quickest approach to delete HyperX Ngenuity Software is to right-click on it, pick “uninstall,” and then continue to follow the on-screen instructions.
Head over to your search box, type % AppData %, then locate something to do with Ngenuity or Hyperx and eliminate all the directories including those names.
Any Hyperx Ngenuity registry entries might well be erased by entering regedit into the very same search box, then navigating to the HKLMSoftware directory and removing anything and everything which mentions Hyperx and/or Ngenuity.
When entirely deleted, reboot your computer and then download the latest edition of the Hyperx Ngenuity program that fits your hardware.
Method 4: Verify Microphone settings
The upgrade may have blocked the microphone in the Windows privacy settings. Use the following procedures to re-enable the microphone.
-
Step 1: Press Windows Key + I simultaneously
-
Step 2: Head over to Privacy Settings
-
Step 3: Then navigate to the Microphone Settings
-
Step 4: Set Give access to the Microphone on this device
Allow applications to access your microphone – Make it ON
Select which applications may use your Microphone – If needed put necessary to ON.
Method 5: Modify Windows Update settings
This could be an issue with the Windows 10 upgrade for the Realtek audio drivers. We propose you upgrade the existing drivers from the Realtek site.
-
Step 1: First, navigate to the Control Panel
Then go over to device management and click on Sound, video, and gaming controllers area.
-
Step 2: Discover Realtek High-Definition Audio
Locate Realtek High-Definition Audio, right-click on it, and select uninstall. Download the newest version that is appropriate for your Windows edition and apply it.
You may have to reboot your laptop. When this is accomplished, plug the headset again in and check the microphone.
Conclusion
That is all there is to know the HyperX Ngenuity not recognizing headset difficulties.
Be careful to follow the procedures and techniques indicated above to fix the problem momentarily while the developers strive to make the software better and eliminate any bugs and issues.
Follow us on Twitter & like our Facebook page for more post-updates

Hi, I’m Ankit Kumar, the founder of StealthyGaming. I handle everything from SEO to researching and writing gaming articles. I’m passionate about helping fellow gamers stay updated with the latest tips, guides, and news. When I’m not optimizing content, I’m probably testing out new games or digging into strategies to make my articles as helpful and engaging as possible.