
The multi-player video game business has been profoundly affected by Minecraft‘s success.
Creating our present context, a game that fosters discovery and creativity sound more desirable than anything I could dream for.
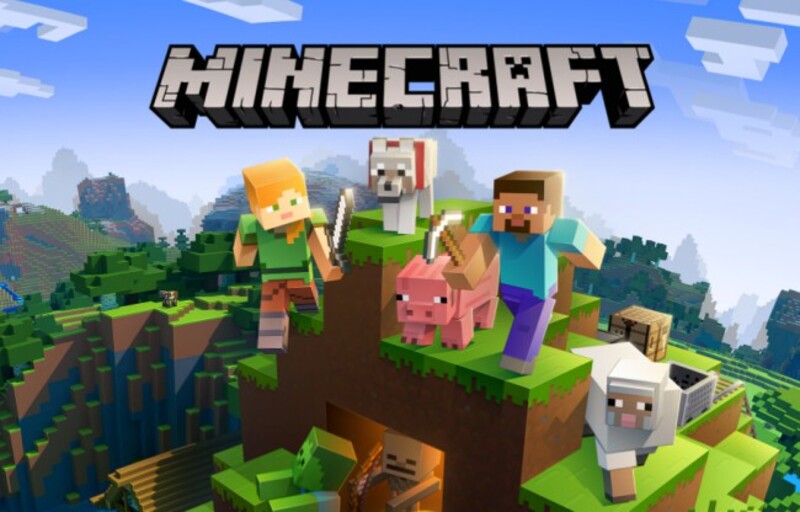
Many extra components have been added throughout the years to make this a timeless classic. When in Creative mode, you have an infinite amount of resources at your disposal, enabling you to achieve anything.
You’ll be able to travel to other planets and explore new destinations in Survival mode.
To fend against a monster onslaught, you may construct a fortress or hoard ammunition.
When you’re on vacation, it’s substantially easier to delegate than it is to attempt to handle everything alone.
When playing with mates, you may compete against them on a single server or even on your own planet.
More content was added on a regular basis as the game grew. Code/modification may be used by Minecraft users to change and even entirely control the game.
This game is compatible with a vast range of devices and platforms. Many popular gaming systems, such as the PlayStation 3, Nintendo Wii, Xbox 360, PC, smartphone, iPad, and Raspberry Pi, may help you in solving your issue.
You can interact with and even modify a cubic-metre cosmos in Minecraft. The following are simply a few samples of ecological phenomena; they are far from complete.
Minecraft players, rejoice! We’ve prepared a list of 15 amazing games like Minecraft for you that are popular among elementary school pupils.
Iron Farm Minecraft
Iron is perhaps Minecraft’s single most valuable material, finding application in innumerable crafting methods.
Although you’ll probably outgrow iron weapons and armour by the late game, you’ll nevertheless discover yourself requiring tonnes of the material for things like rails, anvils, and even beacon pyramids.
But in spite of this, iron’s abundance as a crafting material is not mirrored in how simple it is to obtain.
Iron is one of Minecraft’s most critical materials in the Survival Mode world, and its usage in various crafting processes means players will need it in abundance.
Luckily, the game’s audience has been creating a technique to farm iron for numerous versions of the game. If done properly, an iron farm saves an abundance of time and resources.
These farms may vary in size, from large efforts to something as little as a 5×5 footprint.
They will indeed course give various quantities of iron, but a constant supply of any proportion is preferable than none at all.
Even though this farm may be created on a 5×5 footprint, Minecraft players would require a 21×21 grid to make it un-spawnable.
The farm may be put together in the following manner after the grid is ready:
How to make Iron Farm in Minecraft
The procedure which goes into producing an iron farm is extremely complex and extensive. Nevertheless, you need not be concerned, since we will inform you of everything that transpired.
Follow the methods mentioned underneath to make your iron farm in Minecraft with ease:
-
Step 1: Head to the centre of the 5×5 grid
Head to the centre of the 5×5 grid and set the Shroomlight or Glowstone in the centre block.
Arrange the three beds above the light source equally and vertically. The middle bed should cover the light-creating block.
Keeping the 5×5 grid in mind, place a Double Chest to the right of the beds. Put a Hopper on the right-hand side of this Double Chest.
Next, build an additional Double Chest on the upper right side of the first Double Chest so it conceals the Hopper too though. Finally, install the last Hopper on top of the right side of the second Double Chest.
-
Step 2: Position the Stone Slab
With the beds face upright, detach the block just above top of the leftmost bed. Put a Stone Slab in the gap which is left.
Grab the interim wool block and set it on the block close to where the slab is laid. The makeshift block will be underneath the backrest of the middle bed.
Construct a three block-high wall around the chests and Hoppers. Ensure the boxes are accessible by using steps above the chest tops for the wall.
-
Step 3: Build the buildings
Construct one block-high wall all across beds, and accompany that wall with a row of glass blocks on top of those same wall blocks.
Place an inverted stair block at the only area not protected by a wall or glass window to begin filling in the grid’s empty spots.
-
Step 4: Add a further coating of blocks
Install an additional layer of blocks above the glass ones, the wall must really be a total of 3 blocks high.
Utilize the six Spruce Trap Doors to conceal the top entrance of the building erected. This would create a spawn possible floor.
Install five fence pieces along the side of the trap doors length-wise. Place wooden steps opposite of each other directly near to the extremities of the fence.
-
Step 5: Fence in the leftover boundary
Fence along the whole perimeter, over the Hopper. This would not interact with the Hopper.
Construct the fence to three blocks high on every side except the first longitudinal set installed.
Put 3 trap doors in the midst of the three-block-high barriers and trigger them so that they really are accessible.
Surround the fencing’s top using trap doors. Keep adding trap doors till it fills the full floor space like a roof. Put 3 trap doors on the surface two blocks horizontally from the Hopper.
-
Step 6: Use the Lava Bucket
Insert a lava bucket between the trap doors located on the fence and those positioned on the roof.
The lava should be caught between the trap doors if everything is done properly. Keeping lava in place is a Minecraft staple and should be a pretty routine technique.
Put 2 watering cans on the staircase steps. The liquid should run over the floor and towards the Hopper.
Back on the base level, from the aperture in the wall, put bars to the border of the 21×21 grid. At the conclusion, add a soil block and the Oakleaf block on top of it. Make certain that the rail next to it is energised.
Install a slider on the face of the soil block facing the powered rail.
When the sun goes down, the locals in the area will begin to congregate around the beds.
-
Step 7: Use Spaded Land
Encircle the barriers with spaded soil, and fill the space not spaded with the Oakleaf blocks.
This phase would be challenging in Survival Mode. Minecraft players should delay until a zombie has queued up such that its hitbox is on the set rails.
By throwing the switch, the Minecart will take the zombie to the slumbering villagers as soon as the zombie is within striking distance of the Minecart on the powered rail. Dispose of the short-term wool block.
Iron Golems would commence emerging at the top of the building. In addition to leaf blocks, players may opt to use rail blocks in their constructions instead of those. The farm is now complete with the exception of the Minecart zombie.
-
Step 8: Open the chests
Open the chests at the Minecraft player’s leisure and gather the iron within.
That is all there is to know about making an iron farm in Minecraft. Follow the steps mentioned above to make your very own iron farm in Minecraft without any hassle.
Follow us on Twitter & like our Facebook page for more post-updates
- Top 14 Best Roblox Minecraft Games
- Top 15 Best Games like Minecraft for Android/ iOS
- Fix: Minecraft store not working 2021

Abhigyan identifies himself as a tech geek, gaming cognoscenti, and also a connoisseur of music. Unidentified and mysterious phenomena never fail to gather his undivided attention. When not reading about bizarre and perplexing entities across the Universe, he can often be found cheering for his favorite teams in Football.