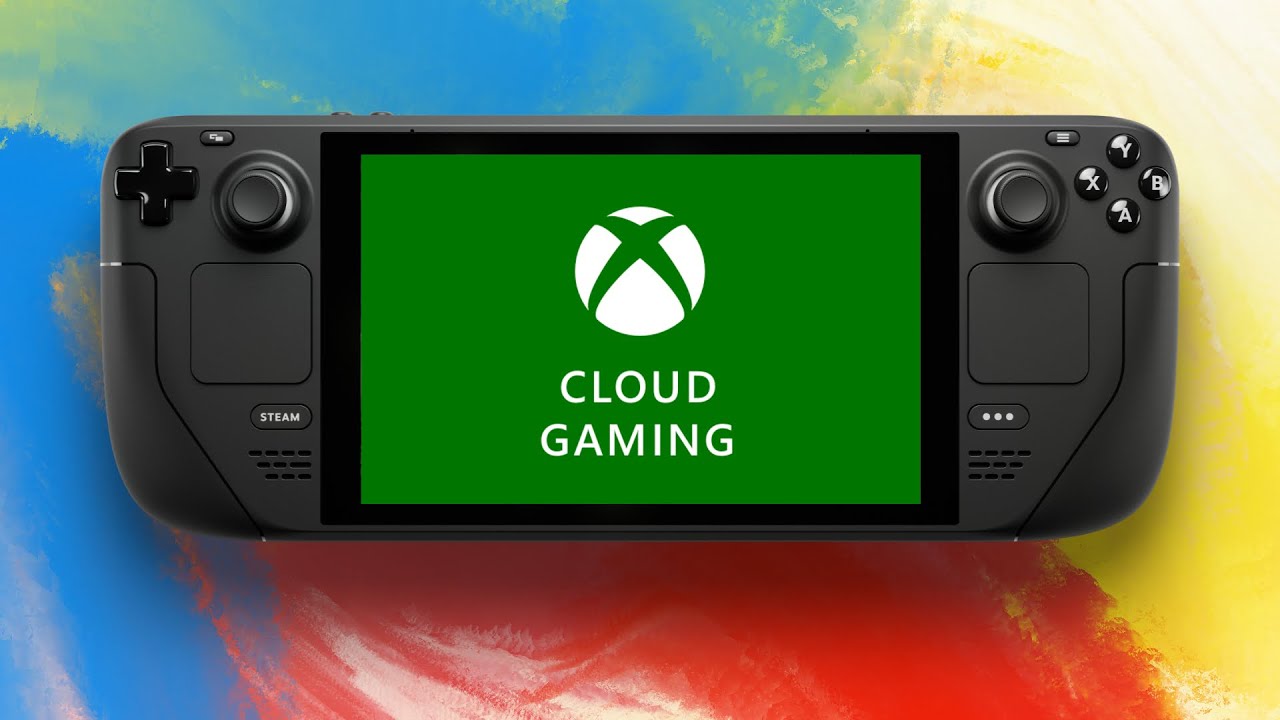
The popularity of cloud gaming has increased, and it has swiftly emerged as a godsend for gamers who have access to fast internet but may lack the most cutting-edge console and PC gear.
Xbox consoles, PCs, and a wide variety of Apple and Android mobile devices, including a few of the newest iPhones and iPads, may all utilize the Xbox Cloud Gaming service to play certain games online.
For the time being, gamers who want to play Xbox Games through cloud streaming with a mouse and keyboard will have to depend on third-party browser add-ons while they wait for Microsoft to take this next step and patch in mouse and keyboard compatibility for Xbox Cloud Gaming.
If you can’t stand the thought of waiting for Microsoft to add mouse and keyboard compatibility to Xbox Cloud Gaming, then you’ll have to resort to using a third-party browser add-on.
Article Contents
How to play Xbox Cloud Gaming with keyboard and mouse
Players may access the Xbox Cloud Gaming service from any web browser that supports it. Players will need to install a separate browser add-on in order to use a mouse and keyboard. When the player is streaming the game on their browser, the extension will notify them when they need to enable keyboard and mouse support.

Method 1: Using the Keyboard & Mouse for Xbox xCloud extension
Download the Keyboard & Mouse for Xbox xCloud add-on for your web browser and you’ll be able to use a mouse and keyboard while playing xCloud games on your Xbox. In the Extensions toolbar, you’ll see an icon that you may use to alter the default settings for your button assignments.
Depending on the game, you may also need to adjust the sensitivity there. Any “deadzone” settings in the game should be disabled.
Whether or not a game has built-in support for a mouse and keyboard, xCloud will support it. When you’re ready to use your controller again, you may quickly and easily turn off the mouse or keyboard override with a single toggle. Configure the level of mouse sensitivity on a per-user basis.
Control a wide variety of settings, both standard, and individual. Any button on the controller may be assigned to numerous keys on the keyboard or mouse. This add-on functions as a “virtual” controller to achieve its effects. It detects when the player pushes keys on the keyboard or moves the mouse (if enabled) and simulates such actions with the on-screen controller buttons and analog sticks.
All input from the keyboard and mouse is immediately converted into input from the virtual controller by the extension without the need for any additional software or methods.
Method 2: Using a third-party browser extension reWASD
reWASD is a browser add-on that is similar to those already mentioned which you can use for mouse and keyboard support while playing Xbox Cloud Gaming.
- Step 1: Download or install reWASD from your browser.
- Step 2: After successful installation, reboot your PC.
- Step 3: Specify the location of your mouse and keyboard devices.
Initiating some hardware may be required if you see the question mark icons in the lower left corner. Use the Detection setting to ensure you have chosen the best option.
- Step 4: Sort the tools you’ll be using into groups.
The first step in creating an xCloud mouse and keyboard configuration is to create a group for the devices you want to utilize. Select the Group button next to a device’s name, and then add the name of the additional device you want to utilize in conjunction with the first.
- Step 5: You have to initiate configuration now.
We realize this may seem like a daunting task, which is why it is recommended you begin with the configuration for xCloud’s mouse and keyboard support.
You may adjust it to fit your requirements at a later time. A Virtual Xbox One controller should be selected in the Virtual controller settings if a new configuration is being created, and the unmapped mouse should be remapped in whichever fashion works best for you.
- Step 6: Select the config and click on Apply.
To put the config into effect, choose it from the menu in the top right corner when you’ve finished making or importing it, and then click the Apply button. You may now utilize your xCloud mouse and keyboard configuration with any game.
One more thing you will need to pay attention to is a mouse that has been remapped to the Right stick. Not only will it not function as a standard mouse, but it will also not function as a Right controller stick, which is a totally separate matter.
reWASD’s many configuration options make it easy to make the controls seem more like a mouse, and I recommend reading this guide on converting the mouse into a Right stick as a starting point.
Follow us on Twitter & like our Facebook page for more post-updates.

Abhigyan identifies himself as a tech geek, gaming cognoscenti, and also a connoisseur of music. Unidentified and mysterious phenomena never fail to gather his undivided attention. When not reading about bizarre and perplexing entities across the Universe, he can often be found cheering for his favorite teams in Football.


