
Last updated on January 2nd, 2023 at 05:28 pm
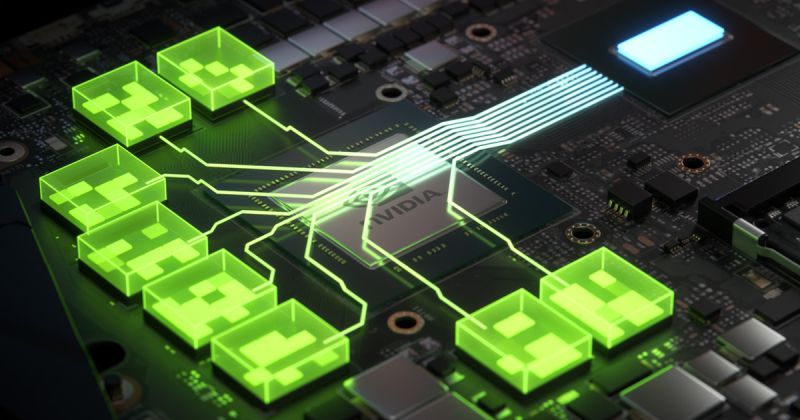
An intriguing innovation with the potential to provide players with a performance boost in some games is the Resizable Base Address Register or Resizable BAR.
While it does enhance performance in certain games, the boost is minimal at best and may even cause performance to decrease in others.
If turning on Resizeable BAR causes a noticeable drop in performance for a given game, NVIDIA will immediately turn it off for you, so there’s no excuse not to use it.
That being said, several users have come forward with the Nvidia Resizeable BAR not working issue.
We’ve included a breakdown of the problem’s root causes and a variety of troubleshooting strategies in this post for your reference.
Why is Nvidia Resizable BAR not working
Short Answer: The Nvidia Resizable BAR is not functioning properly on your system because either the CSM is not deactivated or the device does not have a suitable BIOS, driver, or hardware. This problem may also occur if your motherboard’s firmware or graphics card’s VBIOS are out of date.
You need to check your motherboard, graphics card, and processor to see whether they are compatible with the Resizable BAR before installing it on your computer.
You’ll next want to check the firmware on your motherboard and the video BIOS (VBIOS) on your graphics card to make sure they’re both updated.
Additionally, you have to deactivate the CSM to make use of the Resizable BAR function (Compatibility Support Module). The Nvidia Resizable BAR will not function if CSM is enabled.
Last but not least, you will have to check to see that your computer is using the most recent graphics driver that NVIDIA has made available.
If it isn’t, the Resizeable BAR will not function properly on your computer.
Fix: Nvidia Resizable BAR not working
Method 1: Disable the CSM
You may proceed with the following mechanism if you know for sure that your main storage device supports GPT and your Windows installation is set to run in UEFI BIOS mode.
-
Step 1: Find and select CSM
Find the “CSM (Compatibility Support Module)” submenu from the Boot section, select it using the arrow keys, and then hit Enter or click on it to select it.
-
Step 2: Find the “Launch CSM” option and disable it
Find the “Launch CSM” option inside the “CSM (Compatibility Support Module)” submenu, and toggle it to “Disabled,” provided it is not yet done.
-
Step 3: Press the F10 key to save your work
To save your work and leave the firmware, use the F10 key. Normally, Windows will load when you restart your computer.
To turn off CSM (Compatibility Support Module) on a Windows system with a Master Boot Record (MBR) installation, you must reinstall Windows using the GUID Partition Table (GPT) format.
The downside is that this might render the system temporarily unusable.
If you deactivate the CSM and then discover that your computer no longer boots, you can easily undo the modification by going back into your motherboard’s firmware and reversing the procedures detailed above for the “CSM (Compatibility Support Module)” submenu.
Method 2: Upgrade the firmware of your motherboard.
There is no universally applicable set of instructions here because different motherboards employ distinct tools and processes.
However, the fundamental steps are the same for any motherboard.
To begin, locate the Downloads or Support page for your motherboard version on the motherboard company’s website.
If you look, you should find a collection of BIOS updates, each with information on when it was published and any changes or repairs it brought.
You may upgrade to any version you choose by downloading it here.
Unless you have a very good reason to use an earlier BIOS version, you should upgrade to the most recent available.
If you choose to buy a computer rather than assemble it yourself, you’ll need to visit the manufacturer’s site, locate your model, and then go to the downloads page for that model. Any new BIOS versions will be posted there.
Your BIOS installation package will most likely be a compressed archive (ZIP) file. Get the data out of the file. Something like a BIOS file may be found within.
The motherboard’s capabilities will determine which BIOS-flashing tool is best for you.
With any luck, the README file that comes with the BIOS update will point you in the direction of the best choice for your system configuration.
Method 3: Upgrade the VBIOS of your graphics card
Verify that an NVIDIA GeForce graphics card is present and functioning after updating the BIOS on your motherboard.
The VBIOS may be updated by downloading the update package from your product’s support website, unzipping it, and then running the executable within.
As soon as the update is finished, your computer will restart. As a result, the most recent VBIOS version for your graphics card will be installed.
When upgrading the VBIOS, make sure your computer is plugged into a stable power source and leave it plugged in during the process.
Method 4: Install the latest Nvidia graphics driver
Resizable BAR functionality is often hindered by the use of out-of-date drivers.
Here are the steps you should take to upgrade your Nvidia graphics driver:
-
Step 1: To access the NVIDIA Control Panel,
-
Step 2: Right-click the Windows taskbar and choose the option.
-
Step 3: Choose Updates from the Help menu.
The second approach makes use of the updated NVIDIA logo in the Windows system panel.
To look for updates or modify your settings, right-click the logo.
Given that some drivers in the computer may be damaged and no upgrade is presently available, it is advised that you reinstall the drivers through the menu.
When you’re done, restart your computer to make sure Resizable BAR is active.
To access the NVIDIA Control Panel, use the Start button on your keyboard or choose the Start menu.
If it is installed on your computer, you may start it by selecting the search result or hitting Enter.
If you open the NVIDIA Control Panel, look for the “System Information” option in the bottom left corner of the primary window.
Find the “Resizable BAR” line heading in the “Details” list of the resulting pop-up window’s “Display” tab.
Your computer is ready to use the functionality if the answer “Yes” shows for Resizable BAR.
To take advantage of the enhanced performance, browse NVIDIA’s list of compatible titles, then launch your game of choice from that list.
Subscribe to our Youtube Channel. Follow us on Twitter & like our Facebook page for more post-updates.

Abhigyan identifies himself as a tech geek, gaming cognoscenti, and also a connoisseur of music. Unidentified and mysterious phenomena never fail to gather his undivided attention. When not reading about bizarre and perplexing entities across the Universe, he can often be found cheering for his favorite teams in Football.