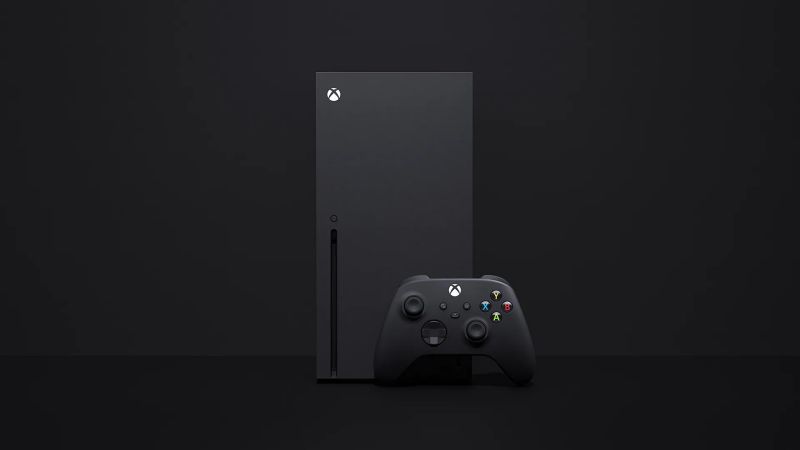

On the brand-new, more powerful Xbox Series X, users are able to play tens of thousands of titles that span the first four generations of Xbox.
However, there are several areas where the Xbox series misses the mark. Some Xbox Series X owners have complained of a white screen that appears when the system is turned on or while checking in.
It’s possible to identify and solve many of the core causes of this problem at home.
To make things easier for you, we’ve included a list of possible causes and solutions.
Reasons: Xbox Series X white screen
Short Answer: Your Xbox series X may be displaying a white screen due to an issue with the HDMI cables and ports, faulty power supply, outdated firmware, incorrect configurations or hardware malfunctions.
In most cases, a white screen on an Xbox Series means that there is a problem with the console’s hardware, software, firmware, HDMI connections, or power supplies.
Issue with HDMI cables and ports:
Connect the cords to the correct ports. The cable and ports should also be checked for damages.
Faulty or damaged power cables:
There are a number of ways to repair problems with your Xbox that are not related to your console, such as replacing plugs or power strips.
Outdated firmware:
If your TV doesn’t have the newest firmware, you may run into this problem.
If you don’t want to deal with problems or faults in your system, it’s important to keep your TV up-to-date.
Incorrect configuration:
It is quite possible that you are experiencing this problem because of incorrect settings.
You might try changing the resolution of your TV or changing the refresh rate to see if it helps.
AVR systems must also be capable of supporting the Xbox’s selected resolution.
Hardware malfunctions:
The power button or other internal fault might be the source of hardware issues, which are better left to the experts.
Fix: Xbox Series X white screen
Method 1: Switch the console off and then back on
Hold down the Power button on the console’s front for around 10 seconds to turn it off.
In order to get your system running again, hit either the Power button on the console or on your Xbox Wireless Controller.
Method 2: Inspect your wires and cables.
To begin, make sure your TV and gaming system are both switched on. After this, you may check out the following:
- Ensure that the right input signal is selected on your television (HDMI).
- Make sure that the HDMI cable connections between your console and your television are secure.
- Make sure the HDMI cable is plugged into the console’s “out to TV” port.
- Use a separate HDMI port to connect the HDMI cable to your TV.
- Try connecting your console with a different HDMI cable instead.
- Using a separate TV, connect your console.
- Make that there are no bent pins or other damage to the cable.
- The HDMI port should also be inspected for any signs of damage.
Method 3: Faulty electrical outlet or power supply
Your console’s power socket or power cable may be damaged or wrongly connected if it shows an unexpected white screen during usage or idleness.
In order to ensure that the power supply is correctly inserted into the outlet and console, try inserting it directly.
A faulty power supply might be at blame if the power outlet functions but the white screen problem persists.
A solid white or orange light indicates that the power source is functioning correctly.
After 20 minutes, if there is no light, disconnect the supply and attempt connecting it back in. Change the power supply if it still doesn’t work.
Method 4: Perform a factory reset
Here are the instructions to follow if you want to restore your console to its factory default settings:
-
Step 1: To access the guide, press the Xbox button.
-
Step 2: Choose Profile & system, then Settings.
-
Step 3: Choose System, then Console info.
-
Step 4: Choose the Reset console option.
Three choices are available on the “Reset your console?” screen:
Reset and remove everything:
To restore the console to factory settings, choose this option. Everything, including user accounts, stored games, settings and home Xbox associations, will be wiped clean.
When selling or giving the console, or in certain troubleshooting situations, this option is a good choice.
Reset and keep my games & apps:
When troubleshooting, choose this option as your first choice. Your games and applications will not be deleted even though the OS will be reset and any possibly damaged data will be deleted.
A corrupt game file may need selecting “Reset and remove everything”, although this should always be your first option when debugging a problem.
Cancel:
Choose the Cancel button to exit this screen. At this moment, nothing has been done. You may safely leave this screen here.
With a single click, you can wipe your Xbox’s hard drive clean and start again with a fresh copy of everything you’ve saved.
Method 5: Upgrade your television’s firmware.
Update your TV to the most recent firmware, and confirm that Automatic Updates are turned on and that your TV is connected to the internet.
This new generation of gaming consoles offers a much enhanced gaming performance compared to the previous generation.
Firmware upgrades are currently being made available for Samsung and LG TVs. These updates will allow users to get the most out of their Xbox Series X consoles.
Method 6: Execute an offline update
If you encounter a white screen after installing a system update, it might be a sign of a problem with the update.
You’ll need the following to utilize the Offline System Update:
-
A PC running Windows with an Internet connection and an USB port
-
An NTFS-formatted USB flash drive with at least 6 GB of storage capacity
To carry out the upgrade, follow these steps:
-
Step 1: Connect the USB flash drive to the computer
Through a USB port, connect the USB flash drive to the computer.
-
Step 2: Launch the OSU1 Offline System Update file.
-
Step 3: Save the file and extract it
Simply click the Save button to store the console update.zip file on your local computer.
Right-click on the zip file and choose Extract all from the menu to unzip it.
Use your flash drive to save a copy of the $SystemUpdate file from the zip file.
-
Step 4: Transfer the file to the root folder
The files must be transferred to the root folder, and the flash drive must be empty.
Remove the USB drive from the computer by unplugging it.
Method 7: AVR troubleshooting
If you’re having problems with your TV’s display or sound while using an audio-video receiver (AVR) linked to your console, try the following steps:
Allow each device to completely charge up before turning on the next one in the following order:
-
Step 1: Firstly, turn on the television.
-
Step 2: Switch on the AVR
After your TV has started showing an image, you should switch on the AVR.
-
Step 3: Switch on the console.
-
Step 4: Click on the Input button
Your AVR’s input source may be shifted from HDMI1 to HDMI2 and then back to HDMI1 by pressing the Input button on the TV’s remote control.
-
Step 5: AVR should be restarted now.
-
Step 6: Connect your TV through HDMI:
To access the instructions, press the Xbox button and navigate to Settings, then Profile & system.
Choose General and then TV & display options from the drop-down menu. After this, choose Video fidelity & overscan.
Choose HDMI from the drop-down menu in the Display section.
Method 8: Unplug any console-connected devices and peripherals.
Storage Expansion Cards, USB HDDs, and battery charging stations may all create problems with your console’s update process, resulting in a blank screen.
As a precaution, detach all other peripherals from the HDMI line, including the power wire, to find out what is interfering.
There is no need to panic; after the update is complete, you may reconnect and use these devices as before.
Method 9: Deactivate Allow 24Hz option
If your console’s video output is configured to Allow 24Hz, you may see a white screen while playing a Blu-ray disc.
In order to make this change:
-
Step 1: To access the Guide, press the Xbox button.
-
Step 2: Choose Profile & system, then Settings.
-
Step 3: Choose General, then TV & display options.
-
Step 4: Choose Video modes.
-
Step 5: To deactivate this option, choose Allow 24Hz.
Method 10: Change the resolution of your television.
Auto-detection of your TV’s display resolution is done by your Xbox console.
Occasionally, your console may be unable to accurately identify the TV’s resolution. Display resolution may be easily changed if it becomes necessary.
-
Step 1: To access the Guide, press the Xbox button.
-
Step 2: Choose Profile & system, then Settings.
-
Step 3: Choose General, then TV & display options.
-
Step 4: Choose “Resolution” and then pick the optimal resolution
Choose “Resolution” and then pick the optimal resolution for your television set.
Make sure that the TV connection is set to Auto detect if you don’t see the resolution for your TV.
Method 11: Submit a repair request
A service on your console may be necessary provided neither of the suggestions worked for you.
Assuming your Xbox is still covered by its manufacturer’s warranty, you might be able to get a repair for free.
If your warranty has already expired, the customer care team will be able to put you in the correct route.
Follow us on Twitter & like our Facebook page for more post-updates

Abhigyan identifies himself as a tech geek, gaming cognoscenti, and also a connoisseur of music. Unidentified and mysterious phenomena never fail to gather his undivided attention. When not reading about bizarre and perplexing entities across the Universe, he can often be found cheering for his favorite teams in Football.