
Last updated on October 20th, 2021 at 09:21 am
Roblox is a gaming platform as well as an online shop where users can purchase and play games. Roblox is both of these.
It is not a game in and of itself, but rather a platform via which users may access games created by other creators.
In comparison to comparable gaming platforms such as Steam, the videogame’s content is completely generated by the users.
Roblox is more than simply a game-playing platform; it also enables you to create your own. Regardless, many Roblox games were created by individuals rather than the Roblox Corporation.
As per the platform’s website, its users have produced over 20 million games to date.
Because Roblox is an open platform, anybody can create games. Young people may utilize the program to develop their own game concepts.
It is feasible for children to learn how to utilize various game-creation tools.
Because Roblox makes it so simple to turn your work into an online multiplayer game, this artistic network would develop as a result of a popular game.
When it comes to studying computer programming languages, Lua has many advantages over other programming languages.
Furthermore, the business offers forums for developers to discuss issues and learn new skills.
Cooperative activities with their pals including action, simulations, horror, adventures, racing, shooting games
Roblox, on the other hand, offers a diverse range of games to its players. Roblox games include famous battle royale types, ranging from murder investigations and jail escapes to treasure-seeking.
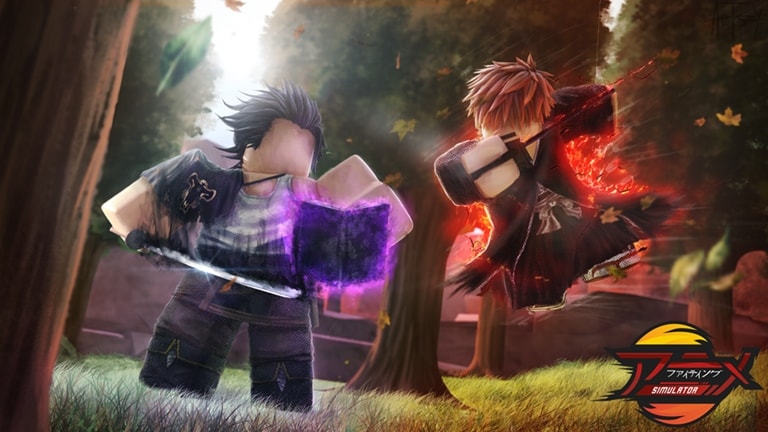
Anime Fighting Simulator is one of the most played games on Roblox. So, in this article, we will be talking more about Anime Fighting Simulator. Let’s get started.
All training areas in Anime Fighting Simulator Roblox
Anime Fighting Simulator’s training zones are detailed in this guide. This guide will show you exactly where to develop each stat and talent in the game.
Agility:
-
Trampoline
The trampoline is the first area to practice agility. It’s on the punching dummy side, right across from spawn. This training area offers a 5x multiplier and needs 100+ agility.
-
Gravity Chamber
Next, on the spirit tree side, is Gravity Chamber, which is immediately across from spawn. The Gravity Chamber needs agility of 10k or above and features a 10x multiplier.
However, in order to utilize them, you must first set your current speed to 16.
The last location to train speed and agility may train both at the same time. This area is directly close to the spawn point. It takes 10k of any stat and gives a 20x multiplier.
Strength:
-
Gym
The first Physical training area is located just outside of spawn.
-
Saitama’s Gym
The next area is Saitama’s Gym, which is on the opposite island to the left of the dummy. This area needs at least 10,000 Physical and gives a 15x multiplier.
The following area is immediately across the map from the gym, making it simpler to locate. This area necessitates 100k+ physical and gives a 50x multiplier.
-
Meteor
After that, it’s only a short trip to Dagobah Beach, which is just next door. The Meteor has a physical requirement of 1m+ and provides a 100x multiplier.
-
Kami’s Lookout
The final destination is Kami’s Lookout, the only sky island in the game. This location requires a minimum of 10m Physical and provides a 500x Multiplier as a reward.
-
Cell Arena
There’s a medium-sized island beyond that for you to see the Cell Arena. A 1000x multiplier is provided by this region, which calls for 100+ physical resources.
-
Excalibur
The last one is Excalibur. This area is also right across the map, although it is somewhat concealed by some big hills.
It takes 600m+ physical and gives a 2250x multiplier, which is presently the highest in the game.
Durability:
- Pirate Ship
The first durability zone is located across from spawn on the punching dummy side. To use the Pirate Ship, you must have at least 100 stamina and a 5x multiplier.
- Desert Island
It’s a short distance from the volcano from Desert Island. Area with a 15x multiplier and a need for over 10,000 years of durability
- Aokiji Island
The next location is Aokiji Island, which is to the right of Desert Island. The region has a 100k+ durability requirement and offers a 50x multiplier as a result of its construction.
- Ursus Shock
The Ursus Shock, a time-wasting bubble shaped like a paw, may be found in the following location.
There is a 100x multiplier needed in this region due to the 1m+ durability requirement.
- Mount Akainu
Mount Akainu, on the other hand, is a formidable natural landmark. Being wedged between three different islands makes it hard to miss.
You’ll need a 500x multiplier and 10m+ durability to train here. Electricity may be gathered from anywhere on the volcano.
- Amaterasu
The last stop is at Amaterasu. It’s easy to find this part of the island since it’s right next to the volcano. There is a 1000x multiplier needed in this region, and it requires a durability of 100m+.
Chakra:
-
Spirit free
The first Chakra area is the Spirit free and can be found just outside of spawn, opposite the dummy. This area needs 500+ Chakra and gives a 5x multiplier.
-
Deathnote
The Deathnote is located on the opposite island, to the right of the tree. This area needs 15k+ Chakra and gives a 15x multiplier.
-
Waterfall of Truth
The Waterfall of Truth comes next. It’s on the other side of the island. It needs 150k+ Chakra and gives a 50x multiplier.
-
Temple
The next area is immediately above this one, near the island’s tip. This is the Temple, which needs 1.5m+ Chakra and gives a 100x multiplier
-
Kurama Statue
Then there’s the Kurama Statue, which is perhaps the most difficult to locate. The training grounds for 100m endurance and physical fitness may be seen in the distance.
Once there, you must travel behind the huge hills and leap down a pit.
And it is here that you will locate the Statue. This area necessitates 15m+ Chakra and gives a 500x multiplier.
-
Senbonzakura Kageyoshi
Finally, there is the Senbonzakura Kageyoshi. This area is located at the summit of the island, just adjacent to this one.
It takes 250m+ Chakra and gives a 2250x multiplier.
The 15m to 250m leap between training zones is the largest and most difficult to accomplish in-game. But it is also worth the wait since it gives the same multiplier as the 600m physical area.
Sword:
Swords are the last option. You may equip several swords. Sword Skill is a vital stat in the game. It influences the player’s sword swing effectiveness and the damage of Sword Skill-based abilities.
When training Sword Skill, the average increase per minute is 55 ticks. During training, swords actually provide multipliers.
In the above-mentioned segments, players can find out about all the training areas in the Anime Fighting Simulator of Roblox. Be sure to check them out in the game.
Follow us on Twitter & like our Facebook page for more post-updates.
Check out more Roblox Games –

Abhigyan identifies himself as a tech geek, gaming cognoscenti, and also a connoisseur of music. Unidentified and mysterious phenomena never fail to gather his undivided attention. When not reading about bizarre and perplexing entities across the Universe, he can often be found cheering for his favorite teams in Football.